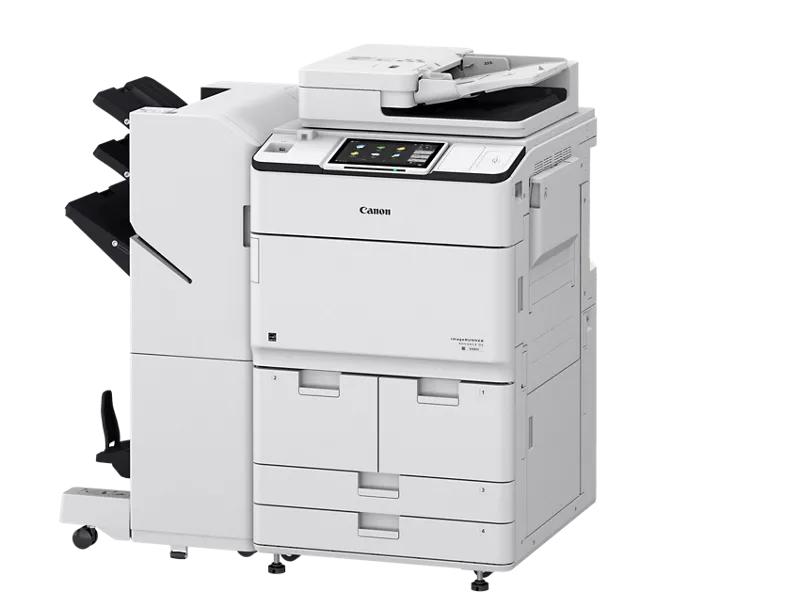
Canon iR-ADV 6980 Setup

USB printing
Save your document as a PDF file on a MS-DOS FAT formatted USB stick. (On macOS you can get an MS-DOS format stick by erasing the stick with Disk Utility and selecting "MS-DOS (FAT)" as the format and "Master Boot Record" as the scheme.) Make sure the copier is on its home screen and then insert the stick into the front panel USB port. It should pop up a dialog box asking if you want to scan or print, and allowing you to select your PDF file.macOS
- Before starting, make sure you're on the campus network and no VPNs are running.
- Open System Settings, Printers & Scanners.
- Click Add Printer, Scanner, or Fax...
- Click the globe icon at the top of the dialog box.
- Enter the following info:
- Address:
copier-left.math.ucsb.eduorcopier-right.math.ucsb.edu - Protocol: Airprint
- Address:
- After a few moments, it should autodetect the Canon iR-ADV 6980 driver. If you see "Generic Postscript Driver" or "Select Driver" something is wrong; verify you're connected to the network, and if you still have trouble consult with sysadmin@math.
- Click Add. There will be a delay while macOS downloads and installs the correct printer driver, then the printer is ready to use.
Notes
- The way macOS presents stapling and punching options is a little obscure. To access them, scroll the print dialog down to Finishing Options, then set Apply Finishings to "Printer Options".
Windows (10 and later)
- Before starting, make sure you're connected to the campus network and any VPNs are disabled.
- Download the
Generic_Plus_UFRIIdriver file from https://www.usa.canon.com/support/p/imagerunner-advance-dx-6980i - Double click the file. A 7z dialog will pop up; click Extract to extract the files into your Downloads folder.
- Browse to the new folder, open either the "x64" or "32BIT" subfolder depending on your system type, and double-click SETUP.EXE.
- If you're not sure if your Windows system is 64-bit or 32-bit, click Start, type
system, click System Information, and look at the "System Type" line. Most reasonably recent systems will be 64-bit.
- If you're not sure if your Windows system is 64-bit or 32-bit, click Start, type
- Click through the license agreement.
- When you come to the Printer Setup dialog, select "Custom" and then click Next.
- Check Canon Driver Information Assist Service and click Next.
- Leave Auto Select checked and click Next.
- Click Add Port...
- Select "Standard TCP/IP Port" and click OK.
- The Printer Port Wizard will open. Click Next.
- In the Printer Name or IP Address box, enter
copier-left.math.ucsb.eduorcopier-right.math.ucsb.edu. The same text will appear in the Port Name field. Click Next. - A confirmation dialog will appear. Click Finish.
- Note: If things stall here, double-check that you're on a campus network and you don't have a VPN running.
- You will be returned to the UFR II Printer Driver installer. Set the printer name to something appropriate (e.g.,
Copier-Left) and then click Next. - Click Start at the bottom of the dialog.
- The installer will register the printer and query it. Once it's finished, the printer is ready to use. If you're installing both printers, you can wait to restart until after the second install.
- To install the second printer, run SETUP.EXE again.
Linux
For any Linux system with CUPS 2.2.2 or later, the following commands in a terminal should work:sudo lpadmin -p copier-left -v ipp://copier-left.math.ucsb.edu/ipp -E -m everywhere sudo lpadmin -p copier-right -v ipp://copier-right.math.ucsb.edu/ipp -E -m everywhereThis takes advantage of the support in recent CUPS versions for driverless printing. It will automatically obtain the correct settings by querying the printer.
Notes
- The default paper tray setting is "Tray 1". You will probably want to change this to "Auto select" in case tray 1 is empty.
- Make sure to use Letter as your default paper size, not A4.
iOS (iPhones and iPads)
Note: This will allow you to print files you've already saved as PDF on your device. It won't let you print from the share sheet in other apps.- Make sure you are connected to the campus Wi-Fi (eduroam, UCSB Wireless Web, or UCSB Secure) and don't have any VPNs running.
- Go to the App Store and install "Canon PRINT."
- The first time you launch the app, it will show a bunch of checkboxes asking you to opt-in to things. You can leave all of these blank. It will give you a warning about services, which you can ignore and continue.
- Tap Add/Switch at the bottom.
- Tap + Register Printer
- Tap If Printer Cannot Be Found
- It will show a list of printer models and ask if your printer is listed. Click Yes.
- Tap Manual Search.
- Enter
copier-left.math.ucsb.eduorcopier-right.math.ucsb.eduand tap search. - When the printer appears, tap it and tap Add.
ChromeOS
- Click the launcher (start button).
- Click Settings.
- Click Advanced.
- Click Print and scan.
- Click Add printer
- Use the following settings:
- Name: Can be anything you like, e.g. "copier-left".
- Address:
copier-left.math.ucsb.eduorcopier-right.math.ucsb.edu - Protocol: Internet Printing Protocol (IPP)
- Queue:
ipp/print
Edit • Attach • Print version • History: r5 < r4 < r3 < r2 • Backlinks • View wiki text • Edit wiki text • More topic actions